
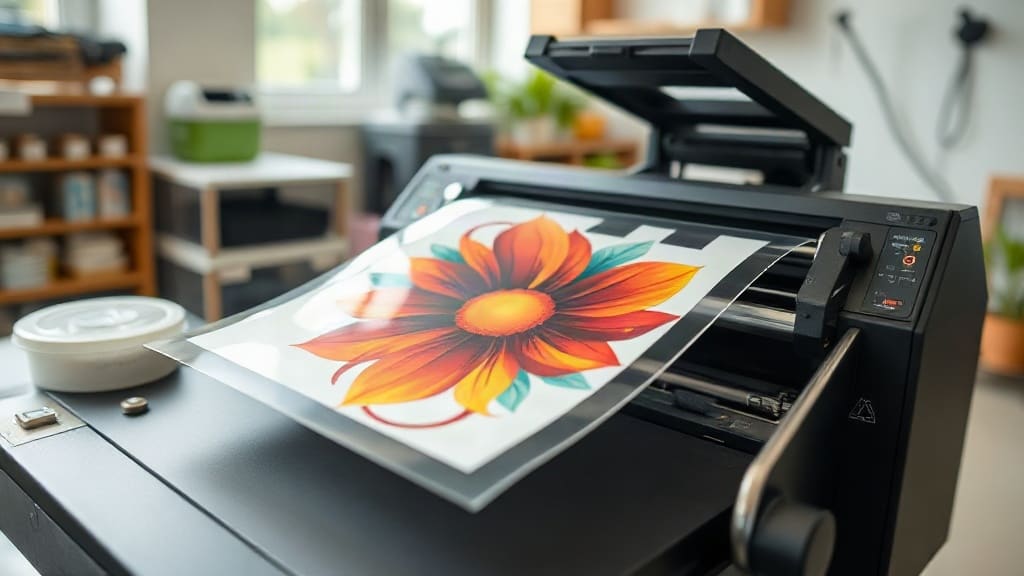
Ever dreamed of creating your own custom t-shirts with vibrant, full-color designs? DTF printing, or Direct-to-Film printing, is changing the game for crafters, small businesses, and hobbyists alike. Unlike traditional methods that require expensive equipment or complex setups, DTF printing offers a versatile, cost-effective way to transfer detailed graphics onto fabric. In this guide, we'll walk you through the essentials of DTF printing, from understanding the process to mastering your first prints.
What Exactly Is DTF Printing?
DTF stands for Direct-to-Film. It's a printing technique where your design is printed onto a special film, coated with a powder adhesive, and then heat-pressed onto fabric. The magic lies in its simplicity: you can print on almost any fabric, including cotton, polyester, blends, and even dark colors, without the need for pre-treatment. The result is a soft, stretchable print that withstands washing and wear.
But why has DTF become so popular? For starters, it eliminates the need for cutting and weeding vinyl, a time-consuming process that limits intricate designs. With DTF, you can print full-color images with gradients, fine lines, and photographs, opening up a world of creative possibilities.
How Does the DTF Process Work?
Let's break down the steps involved in DTF printing. Understanding each stage will help you troubleshoot and achieve professional results.
Step 1: Design Preparation
Start with a high-resolution image. DTF printing captures fine details, so ensure your design is at least 300 DPI. If your image has a white background, remove it to create a transparent background; otherwise, the white will be printed. Most DTF printers come with RIP software that handles color management and mirroring. Yes, you need to mirror your design horizontally because the film is pressed face-down onto the fabric.
Step 2: Printing onto Film
Load your DTF film into the printer. This film has a special coating that receives the ink. The printer lays down a layer of white ink first (if your design requires it), followed by the color inks. The white ink acts as a base, making colors pop on dark fabrics. After printing, the film is wet with ink, so you need to powder it.
Step 3: Applying Adhesive Powder
While the ink is still wet, sprinkle DTF adhesive powder evenly over the printed area. The powder sticks to the wet ink. Then, shake off the excess and return it to the container for reuse. Now, you need to melt the powder. This is done by heating the film, either with a heat press or a dedicated powder curing oven. The powder melts and becomes the adhesive that will bond the design to the fabric.
Step 4: Curing the Film
Curing is crucial. If the powder isn't fully melted, the transfer won't adhere properly. Set your heat press to around 320°F (160°C) and press for 2-3 minutes with low pressure. Alternatively, use a curing oven. The film should look glossy, not gritty. Once cured, the film can be stored for later use or pressed immediately.
Step 5: Heat Pressing onto Fabric
Preheat your fabric to remove moisture. Place the DTF transfer face-down onto the fabric. Press at 320°F (160°C) for 15-20 seconds with medium pressure. Let it cool completely before peeling off the film. For a softer feel, you can press again for a few seconds after peeling. And that's it! Your custom apparel is ready.
Why Choose DTF Over Other Printing Methods?
If you're familiar with DTG (Direct-to-Garment) or vinyl, you might wonder what sets DTF apart. Here are some compelling reasons:
- Fabric versatility: Works on cotton, polyester, nylon, leather, and more.
- No pre-treatment: Saves time and avoids chemical handling.
- Vibrant colors: White ink base allows bright prints on dark garments.
- Durability: Prints stretch with the fabric and resist cracking.
- Cost-effective for small batches: No minimum order, ideal for custom orders.
However, DTF isn't perfect. The prints may have a slight texture, and the film can be tricky to handle initially. But with practice, it becomes second nature.
Getting Started with DTF Printing
Ready to dive in? Here's what you'll need:
- DTF printer: Options range from converted Epson printers to dedicated DTF machines.
- DTF film: Available in sheets or rolls, both hot and cold peel.
- DTF ink: Specially formulated pigments.
- Adhesive powder: Fine or medium particle size.
- Heat press: For curing and pressing.
- RIP software: To manage color and white ink layers.
Start with a small printer if you're on a budget. Many beginners opt for a converted Epson L1800 or P800. As you grow, you can upgrade to a larger roll-fed printer.
Common DTF Challenges and How to Overcome Them
1. Clogged Printheads
DTF ink contains pigments that can settle. Regular maintenance, like daily nozzle checks and cleaning cycles, prevents clogs. If a clog occurs, use a cleaning solution and let it soak.
2. Powder Adhesion Issues
If the powder doesn't stick, the ink might be too dry. Ensure you apply powder immediately after printing while the ink is wet. Also, check that the powder is fresh and not clumped.
3. Cracking or Peeling
This usually happens if the transfer isn't pressed correctly or the powder wasn't fully cured. Increase pressure or temperature slightly, and make sure the fabric is preheated.
Tips for Perfect DTF Transfers
- Always mirror your design.
- Use a lint roller on fabric before pressing.
- Press with firm, even pressure.
- Let the transfer cool before peeling (for cold peel film).
- Store unused film in a cool, dry place.
Frequently Asked Questions About DTF Printing
Can I use DTF on 100% polyester?
Yes, DTF works great on polyester. However, polyester requires lower pressing temperatures to avoid dye migration. Use a low-temperature adhesive powder and press at around 280°F (140°C).
How long do DTF prints last?
With proper care, DTF prints can last as long as the garment itself. Wash inside out in cold water and avoid ironing directly on the print.
Do I need a special printer for DTF?
You can convert a standard inkjet printer (like Epson) to use DTF inks, but dedicated DTF printers are more reliable and come with RIP software.
Is DTF printing safe for kids' clothing?
Yes, when using certified inks and powders. Always check that your materials are non-toxic and follow safety guidelines.
What's the difference between DTF and DTG?
DTG prints directly onto fabric, often requiring pre-treatment, while DTF prints onto a film that is then transferred. DTF is more versatile with fabrics and colors.
With this knowledge, you're well on your way to mastering DTF printing. Remember, practice makes perfect. Start with simple designs, experiment with settings, and soon you'll be creating stunning custom apparel that stands out.