
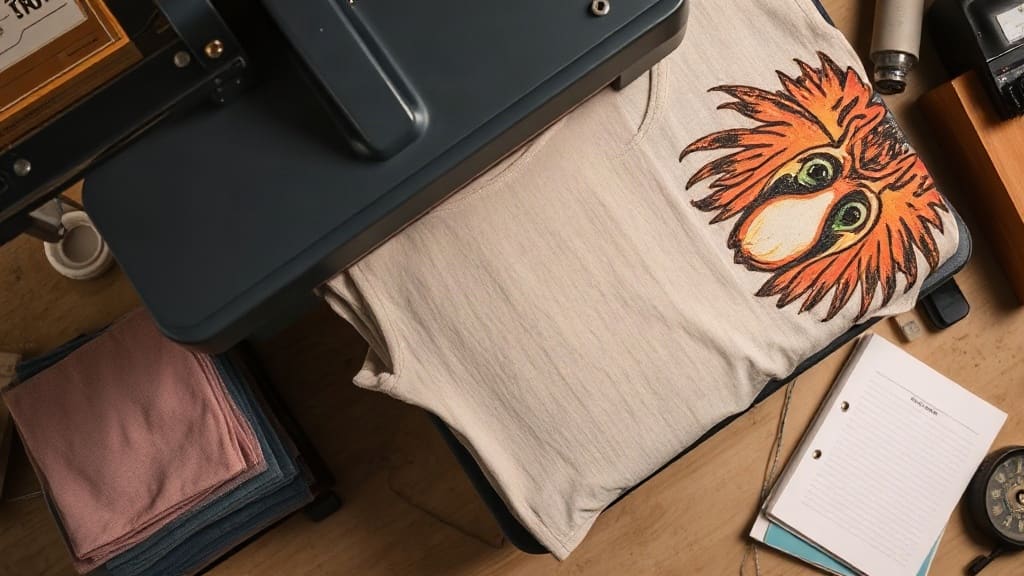
The first time I pressed a full-color dtf transfers sheet onto a heavyweight cotton tee, I peeled it too early and watched half the design stretch off with the film. That mistake cost me a dozen shirts and taught me something useful: DTF is forgiving on paper and unforgiving in practice. If you are printing on shaka wear blanks or working with smart blanks, the variables shift again because those shirts are not interchangeable with the cheap tees most tutorials assume. What follows is what I have learned running DTF through real orders, not theory pulled from a spec sheet.
Why Blank Choice Matters More Than Your Printer
People obsess over DPI and ink profiles, then grab whatever blank is cheapest. That order is backwards. A DTF transfer is a layer of printed adhesive film that bonds to the fabric surface, so the surface is the variable that decides whether your print survives twenty washes or peels on the third.
Two blanks dominate the conversations I have with other printers right now, and they behave differently enough that you should not treat them as a single category.
Shaka Wear: Heavy, Textured, Reliable
Shaka wear tees are known for weight. The cotton is dense, the knit is tight, and the surface has a slight texture rather than a slick, plasticky finish. That texture is your friend. DTF adhesive needs something to grip, and a heavier cotton weave gives it more contact points than a thin, loosely knit shirt.
The tradeoff is heat. Heavier fabric absorbs more energy from the press before the surface reaches temperature. If you press a Shaka Wear tee with the same settings you use on a 4.5 oz lightweight blank, you will likely under-cure the adhesive even though the film looks fine when you peel it. The print feels secure, then fails later.
Smart Blanks: Consistent, Predictable, Slightly Thirstier
smart blanks tend to run more uniform from batch to batch, which matters when you are filling a 50-piece order and cannot afford color or hand-feel drift between shirts. The fabric surface is generally smoother, so transfers sit flatter and detail holds well.
What catches people off guard is moisture. Smoother, sometimes lighter-weight blanks can hold residual moisture from storage or humid shop air. Moisture turns to steam under the press, and steam is the enemy of a clean DTF bond. Pre-pressing is not optional here. It is the step that decides whether you get a crisp edge or a bubbled one.
Press Settings That Actually Work
These are starting points, not gospel. Your press, your shop humidity, and your film brand all move the numbers. Test on scrap before you commit a full run.
- Temperature: 300 to 320 F for both blank types. Start at 310 F and adjust based on peel behavior.
- Pressure: Medium to medium-high. You want firm contact, not crushed fabric. If you can see the weave pattern embossed into the film, you are pressing too hard.
- Pre-press: 5 to 8 seconds on the blank alone to remove moisture and relax the fibers.
- Press time: 12 to 15 seconds for Shaka Wear, 10 to 12 seconds for lighter Smart Blanks.
- Peel: Warm peel for most DTF film. Wait 5 to 8 seconds after opening the press, then peel in one smooth motion at a low angle.
One detail that trips up almost everyone: the second press. After peeling the film, cover the design with parchment or a Teflon sheet and press again for 5 to 8 seconds. This step re-melts the adhesive and pushes it into the fabric fibers. Skip it and you get a print that feels fine but lifts at the corners after a few washes.
The Problems You Will Actually Hit
Edges Lifting After Washing
Nine times out of ten this is under-curing, not bad film. The center of the design bonded because heat concentrated there, but the edges cooled during the press cycle. Solutions: increase press time by 2 to 3 seconds, check that your platen is level, and make sure the entire design sits within the heated area. A design that hangs off the edge of the platen will always fail at that edge.
Color Looking Dull on Dark Shirts
DTF prints white ink as a base layer, then color on top. On a black Shaka Wear tee, that white base has to be opaque enough to block the fabric color. If your whites look grey or your reds look muddy, your white ink layer is too thin. This is a film and printer setting issue, not a press issue. Increase white ink density in your RIP software and re-test.
Stiff, Plastic Hand Feel
Some stiffness is inherent to DTF, especially on large solid designs. You can reduce it. Thinner white layers, less overall ink coverage, and a proper second press all help. On a heavyweight Shaka Wear tee, a slightly stiff print reads as durable rather than cheap. On a thin Smart Blanks tee, the same print can feel like a sticker. Match your design weight to your blank weight.
Adhesive Residue Around the Design
That faint shiny halo around your print is leftover adhesive film. It happens when you peel too hot or too cold. Let the shirt cool for the right window, peel slowly, and if residue remains, a light second press with parchment usually absorbs it into a clean finish.
Wash Testing Without Wasting Shirts
I keep a wash log for every new blank and film combination. It takes ten minutes and saves entire orders. Press a small test square, wash it five times inside out in cold water, and tumble dry low. Check after each cycle.
- Cycle 1: edges should be fully bonded, no lifting.
- Cycle 3: color should hold, no cracking at fold points.
- Cycle 5: print should still flex with the fabric without separating.
If a test fails at cycle 3, your press settings are wrong. If it fails at cycle 5, your wash instructions to the customer are wrong. Both are fixable, and both are cheaper to fix on one test shirt than on fifty finished ones.
Matching Design to Blank
Here is a rule I follow that has saved me a lot of grief. Bold, high-coverage designs with large solid areas belong on heavier blanks like Shaka Wear, where the fabric supports the print and the hand feel stays reasonable. Fine detail, gradients, and lighter coverage designs work beautifully on smoother Smart Blanks, where the flat surface lets small elements read clearly.
Put a heavy solid print on a light blank and you get a stiff, top-heavy shirt. Put a delicate fine-line design on a textured heavy blank and you lose detail in the weave. The blank and the design have to agree with each other.
Frequently Asked Questions
Can I use the same press settings for Shaka Wear and Smart Blanks?
No. Shaka Wear is heavier and needs more press time, usually 12 to 15 seconds, while lighter Smart Blanks cure in 10 to 12 seconds. Using one setting for both means one of them is either under-cured or over-pressed. Run a test press on each blank type before a production run.
Why does my DTF transfer crack after a few washes?
Cracking almost always comes from under-curing or from stretching the print while it is still warm. Make sure you complete the second press after peeling, and let the shirt cool completely before you fold or stretch it. Cracking at fold lines specifically points to a print that is too thick for the fabric it sits on.
Do I need to pre-press Smart Blanks before applying DTF transfers?
Yes, and this step matters more on smoother, lighter blanks. Pre-pressing for 5 to 8 seconds removes moisture that would otherwise turn to steam and create bubbles or weak spots under the film. It also relaxes the fabric so the transfer sits flat.
How do I stop DTF prints from feeling like plastic on lightweight shirts?
Reduce your white ink layer thickness, avoid large solid color blocks, and always do the second press. Thinner ink coverage flexes with the fabric instead of sitting on top of it. On very light blanks, choose designs with more negative space and less full-coverage area.
Is DTF durable enough for workwear and repeated industrial washing?
DTF holds up well under normal home washing, but industrial laundering with high heat and harsh detergent will eventually wear any heat-applied transfer. For workwear, use a heavier blank, cure fully with a proper second press, and give the customer clear wash instructions: inside out, cold water, low heat dry.