
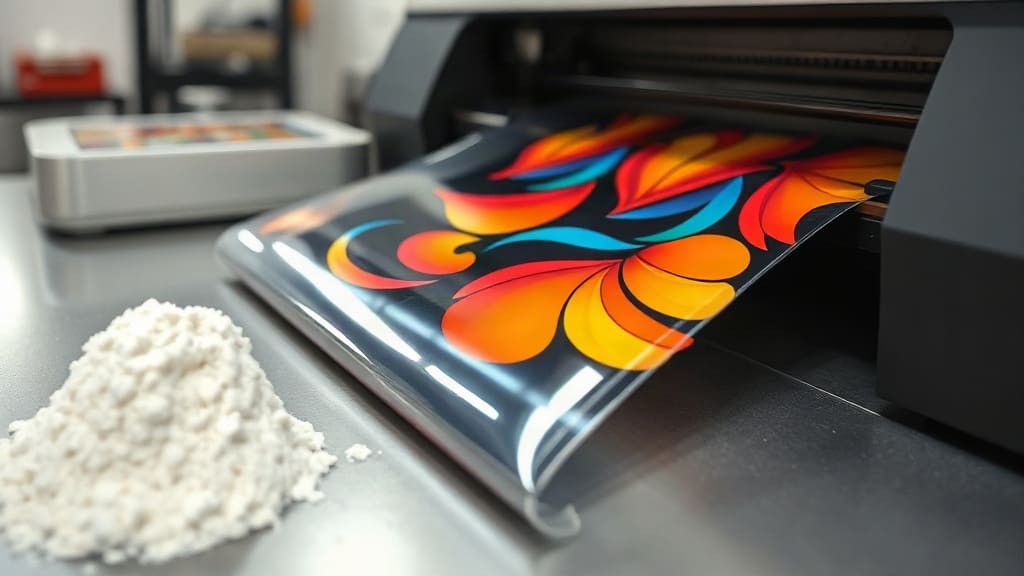
When you first hear about DTF printing, it might sound like just another industry acronym. But for anyone who decorates apparel, it's a game changer. Unlike vinyl or screen printing, DTF (Direct to Film) lets you transfer full-color designs onto almost any fabric without weeding or messy cleanup. I remember my first attempt: I rushed the powder step and ended up with a sticky mess. After a few trials, I learned the nuances that make all the difference. In this guide, I'll share what I wish I knew starting out, so you can avoid the common pitfalls and produce professional-looking transfers from day one.
What Exactly Is DTF Printing?
At its core, DTF printing involves printing your design onto a special film, sprinkling a thermoplastic powder over the wet ink, and then curing it. The result is a flexible, stretchable transfer that can be heat-pressed onto cotton, polyester, blends, and even some synthetic fabrics. The magic lies in the adhesive powder: it melts into the ink and creates a bond that survives washing and stretching. Unlike DTG, which requires pre-treatment and works best on 100% cotton, DTF is far more versatile. You can print on dark colors, light colors, and unusual materials like canvas or denim. The process is also efficient for small batches because you don't need screens or plates. Just print, powder, cure, and press.
Key Materials You'll Need for DTF Printing
Before you dive in, gather the right supplies. Using inferior materials is the quickest way to frustration. Here's what I keep on hand:
- DTF film: This is the foundation. Look for double-sided matte film or single-sided film with a coated side. The coating holds the ink and releases cleanly. I prefer films that are 75-100 microns thick; they feed well and resist curling.
- DTF ink: Pigment-based inks formulated for DTF printers. They need to be shaken daily to prevent settling. Using the wrong ink can clog your printhead or produce dull colors.
- Hot-melt powder: This is the adhesive. It comes in fine and coarse grades. Fine powder (80-170 microns) works for detailed designs; coarser powder (180-250 microns) is better for bold blocks. I usually keep both on hand.
- Heat press or curing oven: You'll need consistent heat to melt the powder. A heat press with even pressure is ideal, but a conveyor oven also works for larger volumes.
- Printer: A dedicated DTF printer or a converted Epson with a DTF ink system. Don't try to use a standard inkjet; the ink won't adhere properly.
- Software: RIP software helps manage color profiles and ink limits. It's not mandatory but makes life easier.
Step-by-Step DTF Printing Process
1. Prepare Your Artwork
Start with a high-resolution image, ideally 300 DPI at the final print size. Mirror the image horizontally because you'll print on the film's coated side and then flip it onto the garment. If you forget this step, your text will be backwards. I learned that the hard way with a client's logo. Also, consider the fabric color: DTF inks are opaque, but a white underbase is automatically created when you print on film, so dark shirts are no problem. However, if you want a soft hand, minimize the white layer by using a design with negative space.
2. Print the Design
Load your DTF film into the printer, ensuring the coated side faces the printhead. In your RIP software, select the appropriate profile. Typically, you'll print a white layer first, then CMYK on top. Some printers allow you to adjust the white ink density; too much white makes the transfer stiff, too little reduces opacity. I usually set white to around 80-90% for a good balance. After printing, the film will look wet and slightly raised. Handle it by the edges to avoid smudging.
3. Apply the Powder
While the ink is still wet, sprinkle the hot-melt powder evenly over the printed area. You can do this manually or with an automatic shaker. Gently tilt the film to spread the powder, then shake off the excess. The powder should stick only to the wet ink. If you see clumps, you've applied too much; tap the back of the film to remove them. For fine details, use a soft brush to distribute the powder into tight areas. This step is crucial: uneven powder leads to poor adhesion and cracking after washing.
4. Cure the Powder
Curing melts the powder into a smooth, clear adhesive layer. You can use a heat press set to 160-170°C (320-340°F) for about 60-90 seconds, or a conveyor oven at similar temperatures. The powder should turn from white to clear and glossy. If it remains white, it's undercured; if it turns brown, it's overcured. I recommend doing a test with a small piece to dial in your settings. Once cured, the film can be stored in a cool, dry place for weeks.
5. Heat Press the Transfer
Set your heat press to 150-160°C (300-320°F) with medium pressure. Place the transfer on the garment with the powder side down. Cover with a Teflon sheet or parchment paper. Press for 10-15 seconds, then peel the film while it's still warm (warm peel) or let it cool completely (cold peel). The peel method depends on the film and powder you use; I find warm peel gives a smoother finish. After peeling, give it a second press for 5 seconds with a Teflon sheet to enhance durability.
Common DTF Printing Problems and How to Fix Them
Even with experience, issues pop up. Here are the most frequent ones and their solutions:
- Transfer peels off after washing: Usually caused by undercured powder or insufficient pressure during pressing. Increase curing time or pressure. Also, ensure the garment is free of fabric softener.
- Cracking in the design: Overcuring makes the adhesive brittle. Reduce curing temperature or time. Also, stretching the garment excessively can cause cracks.
- Dull colors: Often due to expired ink or incorrect color profiles. Shake ink cartridges daily and use fresh ink. Calibrate your printer regularly.
- Powder not sticking: The ink may be too dry. Print a test pattern to check ink flow. If the printer sat idle, run a cleaning cycle.
- Film jams: Humidity can make film curl. Store film in a sealed bag with desiccant. Adjust printer feed settings if needed.
Tips for Better DTF Results
After countless trials, I've picked up a few habits that consistently improve output. First, always do a wash test on a scrap garment before selling or giving away a finished product. Wash it inside out in cold water and tumble dry low; if it survives three cycles, it's solid. Second, keep a log of your settings for each fabric type. Cotton requires slightly different pressing than polyester. Third, invest in a good heat press with digital temperature control; fluctuating heat is a recipe for inconsistency. Finally, don't skimp on powder quality. Cheap powder can clog and produce a rough feel. A reputable supplier like DTF Pro Kit offers reliable materials that save you money in the long run.
Frequently Asked Questions About DTF Printing
Can I use DTF printing on 100% polyester?
Yes, DTF works well on polyester, but you need to lower the pressing temperature to around 140-150°C to avoid dye migration. Also, use a lower pressure to prevent the fabric from scorching. Some polyester dyes can sublimate into the transfer, so test first.
How long does a DTF transfer last?
With proper curing and pressing, a DTF transfer can last 50+ washes. It may outlast the garment itself. The key is following the correct temperature, pressure, and time. Avoiding fabric softener and washing inside out also extends life.
Do I need a special printer for DTF?
You can convert an Epson printer with a DTF ink system, but dedicated DTF printers are more reliable. They have modified printheads and ink delivery systems designed for pigment inks. If you're serious, invest in a dedicated machine.
What's the difference between DTF and DTG?
DTF transfers are printed on film and then applied, while DTG prints directly onto the garment. DTF works on more fabrics, including dark colors, without pre-treatment. DTG is limited to cotton and requires pre-treatment for best results.
Can I reuse DTF film?
No, DTF film is single-use. Once you peel the transfer, the film is spent. Attempting to reuse it will result in poor adhesion and messy output.
Mastering DTF printing takes practice, but the versatility and quality make it worth the effort. Start with small tests, keep notes, and soon you'll be producing vibrant, durable transfers that impress clients and friends alike.