
If you have ever wanted to print full-color designs onto a cotton t-shirt without the hassle of weeding vinyl or the limitations of DTG, DTF printing might be exactly what you need. Direct-to-film, or DTF, is a digital printing method that transfers your artwork onto a special film, coats it with a hot-melt powder, and then heat-presses it onto fabric. Unlike DTG, which requires pretreating and works best on 100% cotton, DTF adheres to a wide range of materials, including polyester, blends, and even nylon. In this guide, I will walk you through the entire DTF process, share settings that have worked in my own shop, and help you avoid common pitfalls that waste time and materials.
What Exactly Is DTF Printing?
DTF stands for direct-to-film. The process begins with a digital printer equipped with pigment inks, typically CMYK plus white. The printer lays down your design in reverse onto a PET film. While the ink is still wet, a powdered hot-melt adhesive is applied over the print. After shaking off the excess powder, the film goes through a curing oven or heat press to melt the powder into a gel-like layer. The result is a ready-to-press transfer that can be stored for months. When you are ready to apply it, you heat-press the transfer onto your garment, let it cool, and peel away the film. The design remains bonded to the fabric, with the white ink providing a bright underbase for colors to pop on dark shirts.
Why Choose DTF Over Other Methods?
For small businesses and hobbyists, DTF offers several advantages. First, there is no weeding. You can print intricate details and fine lines without the tedious work of cutting and removing vinyl. Second, you can print on almost any fabric. Cotton, polyester, 50/50 blends, and even treated nylon work well. Third, the color vibrancy is excellent because the printer uses a white underbase, so your design shows up clearly on black or navy shirts. Finally, the cost per print is low once you factor in the film, powder, and ink, making it a profitable option for on-demand orders.
The DTF Printing Process Step by Step
Getting a perfect DTF transfer requires attention to detail at each stage. Here is the workflow I follow in my own studio.
1. Design Preparation
Start with a high-resolution image, ideally 300 DPI at the final print size. If your design has transparency, make sure it is on a transparent background. The printer will lay down white ink where needed, so any semi-transparent areas should be adjusted to avoid unwanted white spots. I recommend saving your file as a PNG or TIFF. Also, mirror the image horizontally because the printer will output it in reverse.
2. Printing the Film
Load your DTF film into the printer with the coated side facing the printhead. The coated side is usually slightly matte or has a logo printed on the back. Set your printer to the appropriate profile for DTF film. This controls ink limits and white ink density. Too much ink can cause bleeding, while too little results in dull colors. A good starting point is a white ink density of 80-90% and color density around 70-80%. Print a test pattern to dial this in.
3. Applying the Powder
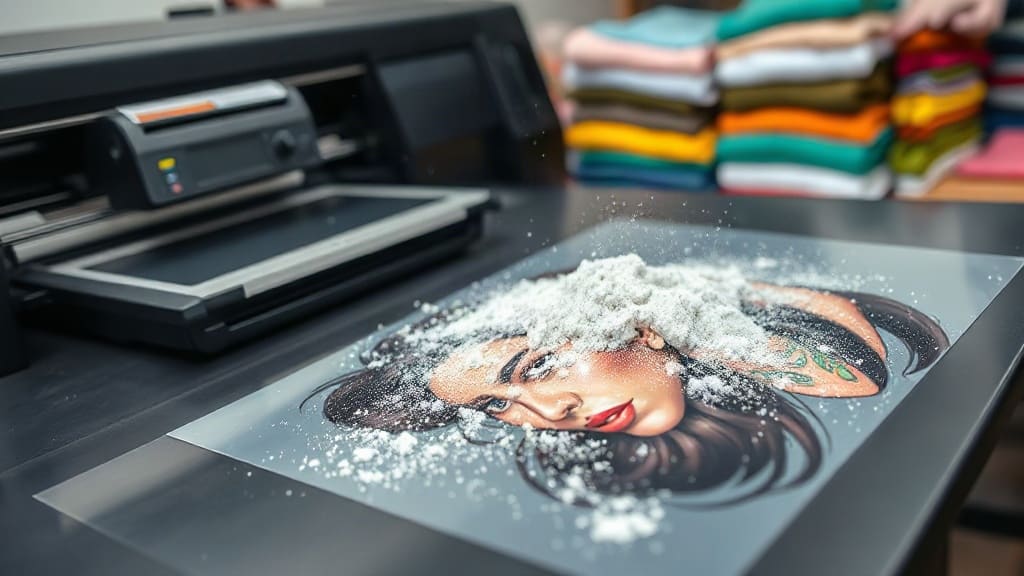
While the ink is still wet, sprinkle hot-melt powder over the print. You can do this manually or with an automatic powder shaker. The powder should stick only to the wet ink. Gently shake off the excess. If you see powder clinging to the film outside the design, brush it away with a soft brush. The goal is an even, thin layer of powder on the ink.
4. Curing the Powder
Place the film in a curing oven at 320-340°F (160-170°C) for 60-90 seconds. Alternatively, you can use a heat press with the film between two sheets of parchment paper. Press at 320°F for 20-30 seconds with medium pressure. The powder should melt and become glossy. Do not over-cure, or the film may warp and the adhesive may become brittle. Once cured, the transfer can be stored in a cool, dry place for several months.
5. Heat Pressing the Transfer
Set your heat press to 320-340°F (160-170°C). Place the garment on the platen, pre-press for 5-10 seconds to remove moisture. Position the transfer on the fabric with the powder side down. Press for 15-20 seconds with medium to firm pressure. Remove the garment from the press and let it cool completely before peeling the film. If you peel while hot, the design may stretch or the adhesive may not have set properly. Once cool, peel the film in one smooth motion. For a softer feel, you can press again for 5-10 seconds with a Teflon sheet over the design.
Choosing the Right Materials
The quality of your DTF transfers depends heavily on the supplies you use. Not all films and powders are created equal.
DTF Film
Look for double-sided coated PET film. The coating on the print side helps the ink adhere, while the back side prevents sticking when stacked. Thickness matters: 75-100 microns is standard. Thinner films may curl during printing, while thicker films can be harder to peel. I prefer film with a matte finish because it holds the powder better and is easier to handle.
Hot-Melt Powder
The powder is the adhesive that bonds the ink to the fabric. There are two main types: TPU (thermoplastic polyurethane) and PA (polyamide). TPU powder is more flexible and stretchy, making it ideal for stretchy fabrics like spandex blends. PA powder is more rigid but offers excellent wash durability on cotton and polyester. Particle size also matters: finer powder (80-200 microns) gives a smoother feel and better detail, but it can be messier to apply. Coarser powder is easier to handle but may leave a slightly textured finish.
Inks
Use pigment inks designed specifically for DTF. These inks have a higher pigment load and are formulated to work with the powder. Using generic DTG inks may clog your printhead or produce weak colors. Also, keep your printer in a clean, dust-free environment and run daily nozzle checks to prevent clogs.
Common DTF Problems and How to Fix Them
Even with experience, you will run into issues. Here are the most common ones and their solutions.
Transfer Peels Off After Washing
This usually means the powder was under-cured or the press pressure was too low. Increase curing time or temperature slightly, and make sure your heat press applies even pressure. Also, check that the fabric is clean and dry before pressing.
Colors Look Dull
Dull colors often result from insufficient white ink density or too much powder. Increase white ink density in your printer settings and reduce the amount of powder you apply. Also, ensure the film is not expired; old film may not accept ink properly.
Film Curls or Jams
Humidity can cause film to curl. Store film in a sealed bag with desiccant. If it curls during printing, try adjusting the platen gap or using a film guide. Some printers have a vacuum platen that helps hold the film flat.
Powder Sticks to the Background
This happens when the ink is too wet or you apply too much powder. Reduce ink density slightly and use a fine-mesh shaker to apply a thin, even layer. You can also wait a few seconds after printing before applying powder to let the ink settle.
DTF vs. Other Printing Methods
How does DTF compare to screen printing, DTG, and vinyl? Screen printing is cost-effective for large orders but requires setup and cannot handle full-color gradients easily. DTG is great for 100% cotton but needs pretreating and can be finicky on blends. Vinyl is durable but limited to simple designs and requires weeding. DTF sits in a sweet spot: it handles complex, full-color designs on almost any fabric, has no minimum order, and the transfers can be stored. The main downsides are the slightly plasticky feel (which can be minimized with a second press) and the need for a dedicated printer and curing setup.
Frequently Asked Questions
Can I use DTF on 100% polyester?
Yes, DTF works well on polyester. However, polyester is heat-sensitive, so lower your press temperature to around 300°F (150°C) and press for 15 seconds. Too much heat can cause the fabric to scorch or the transfer to become glossy.
How long do DTF transfers last?
When applied correctly, DTF transfers can last as long as the garment. Wash inside out in cold water and tumble dry low or hang dry. Avoid ironing directly on the print. With proper care, you can expect the design to stay vibrant for 50+ washes.
Do I need a special printer for DTF?
You can convert an Epson printer with a DTF ink system, but dedicated DTF printers are available and often easier to maintain. They come with white ink circulation systems and are designed for the powder process. If you are just starting, a converted printer can work, but be prepared for more maintenance.
What is the best temperature for curing DTF powder?
The ideal curing temperature is 320-340°F (160-170°C) for 60-90 seconds in an oven, or 20-30 seconds in a heat press. Always use a laser thermometer to verify the actual temperature, as press displays can be inaccurate.
Can I layer DTF transfers?
Yes, you can layer DTF transfers, but it is tricky. Press the first transfer, let it cool, peel, then press the second on top. Use a lower temperature for the second press to avoid disturbing the first layer. For best results, design your artwork to avoid overlapping layers.