
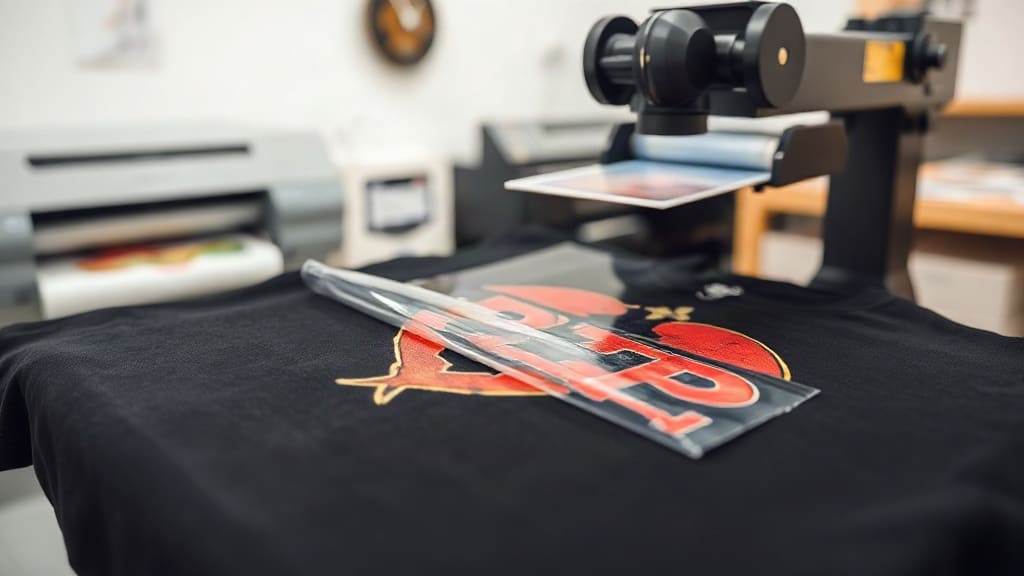
If you've been exploring custom apparel printing, you've likely heard about DTF transfers. This relatively new technology is quickly gaining traction among hobbyists and professionals alike for its versatility and vibrant results. Unlike traditional methods that require specific fabrics or complex setups, DTF transfers offer a straightforward way to get detailed, full-color designs onto a wide range of materials. In this guide, we'll walk you through everything you need to know to get started, from the basics of how it works to pro tips for flawless application.
What Are DTF Transfers?
DTF transfers (Direct to Film) are a type of heat transfer that involves printing your design onto a special film, coating it with a heat-activated adhesive powder, and then using a heat press to apply it to your garment. The process begins with a digital printer that lays down a layer of white ink followed by CMYK colors. This white layer acts as a base, allowing the design to show up vividly on both light and dark fabrics. Once printed, the film is dusted with a thermoplastic powder, which melts and bonds the design to the fabric when heat is applied.
The key advantage here is that you're not printing directly onto the garment; instead, you're creating a transfer that can be stored and applied later. This makes DTF ideal for small businesses or individuals who want to produce custom items on demand without investing in expensive screen printing equipment. Plus, because the design is printed on film, you can achieve intricate details and gradients that might be challenging with other methods.
Why Choose DTF Transfers Over Other Methods?
You might be wondering how DTF compares to more established techniques like screen printing or vinyl cutting. Here's a breakdown of the benefits that make DTF stand out:
- Fabric versatility: DTF works on cotton, polyester, blends, and even some treated leathers. No need to switch methods based on material.
- No weeding or masking: Unlike vinyl, there's no tedious weeding process. You simply print, powder, and press.
- Full-color designs: DTF printers can reproduce complex images with fine details and gradients without the color limitations of screen printing.
- Durability: When applied correctly, DTF prints are stretchable and resistant to cracking, peeling, and fading.
- Cost-effective for short runs: Without setup costs like screens or plates, DTF is economical for one-off items or small batches.
These advantages make DTF a compelling option for custom t-shirts, tote bags, hoodies, and more. Whether you're a side hustler or a growing brand, DTF can streamline your production.
Step-by-Step Guide to Applying DTF Transfers
Getting a perfect DTF transfer requires attention to detail. Follow these steps to ensure a professional finish every time.
1. Prepare Your Workspace and Materials
Before you begin, gather everything you need: your DTF transfer, a heat press, a garment, and a protective sheet (like parchment paper or Teflon). Ensure your heat press is on a stable surface and preheated to the correct temperature. For DTF, typical settings are 325°F (160°C) with medium pressure for 10-15 seconds. Always check the instructions provided with your transfers, as they may vary.
2. Preheat the Garment
Preheating removes moisture and wrinkles, which can interfere with adhesion. Place the garment on the heat press and press for 3-5 seconds. This step is quick but crucial for a smooth application.
3. Position the Transfer
Place the DTF transfer onto the garment with the printed side facing up. If your design has a white layer, that side goes against the fabric. Use heat-resistant tape if needed to keep it in place. Double-check alignment before pressing.
4. Apply Heat and Pressure
Cover the transfer with a protective sheet. Press down with medium pressure for 10-15 seconds. Avoid over-pressing, as too much heat can cause the film to wrinkle or the adhesive to over-melt, leading to a messy result.
5. Peel the Film
After pressing, you can either peel the film while it's hot (hot peel) or wait for it to cool (cold peel). Most DTF transfers are cold peel, meaning you should let it cool completely before slowly peeling off the film. If any part of the design lifts, press again for a few seconds.
6. Post-Press for Durability
For added durability, cover the design with a protective sheet and press again for 5-10 seconds. This ensures the adhesive is fully activated and the print is secure.
Common Mistakes to Avoid with DTF Transfers
Even with the right steps, small errors can ruin your results. Here are some pitfalls to watch out for:
- Incorrect temperature: Too low, and the adhesive won't melt; too high, and the film may scorch. Always use a heat gun or infrared thermometer to verify your press temperature.
- Insufficient pressure: Uneven pressure leads to poor adhesion. Adjust your press to apply consistent pressure across the platen.
- Peeling too early: If you peel while hot, the design may stretch or tear. Wait until it's cool to the touch.
- Not pre-pressing: Skipping pre-pressing can trap moisture, causing bubbles or weak bonding.
- Using the wrong film: Ensure your transfer is specifically for DTF; other films may not have the adhesive powder needed.
By avoiding these common errors, you'll achieve reliable, long-lasting prints.
Tips for Storing and Handling DTF Transfers
If you're not using your DTF transfers immediately, proper storage is key. Keep them in a cool, dry place away from direct sunlight. Avoid folding or creasing the film, as this can damage the print. For best results, use them within a few weeks, as the adhesive powder can absorb moisture over time. If you notice the powder becoming clumpy, you can gently dry the film with a heat press before use, but it's better to store them correctly from the start.
Frequently Asked Questions About DTF Transfers
How long do DTF transfers last on a shirt?
With proper application and care, DTF transfers can last as long as the garment itself. They are resistant to cracking and fading, and can withstand multiple washes. To maximize longevity, wash the garment inside out in cold water and avoid using bleach or fabric softeners. Tumble dry on low or hang dry.
Can I use DTF transfers on dark fabrics?
Absolutely. One of the biggest advantages of DTF is that the white ink layer allows vibrant colors to show up on dark materials. The white base acts as a primer, ensuring your design pops without needing a separate underbase.
Do I need a special printer for DTF transfers?
Yes, DTF printing requires a dedicated DTF printer that uses DTF inks and can print white ink. However, if you're not ready to invest in a printer, you can purchase pre-printed DTF transfers from suppliers and apply them with a heat press.
What fabrics work best with DTF transfers?
DTF works well on cotton, polyester, cotton-poly blends, and even some synthetic fabrics. It's not recommended for fabrics with a heavy texture or those treated with water-repellent coatings, as adhesion may be compromised.
How do I remove a DTF transfer if I make a mistake?
If you need to remove a DTF transfer, you can use a heat press or iron to reheat the design and peel it off while hot. Be careful not to burn the fabric. Sometimes a small residue remains; you can use a commercial adhesive remover or repeat the heating process.
DTF transfers are a game-changer for custom apparel, offering flexibility, durability, and stunning results. With the right technique and a bit of practice, you'll be creating professional-quality items in no time. Remember to source high-quality transfers and follow the guidelines for application and care. Whether you're starting a business or making personalized gifts, DTF is a skill worth mastering.