
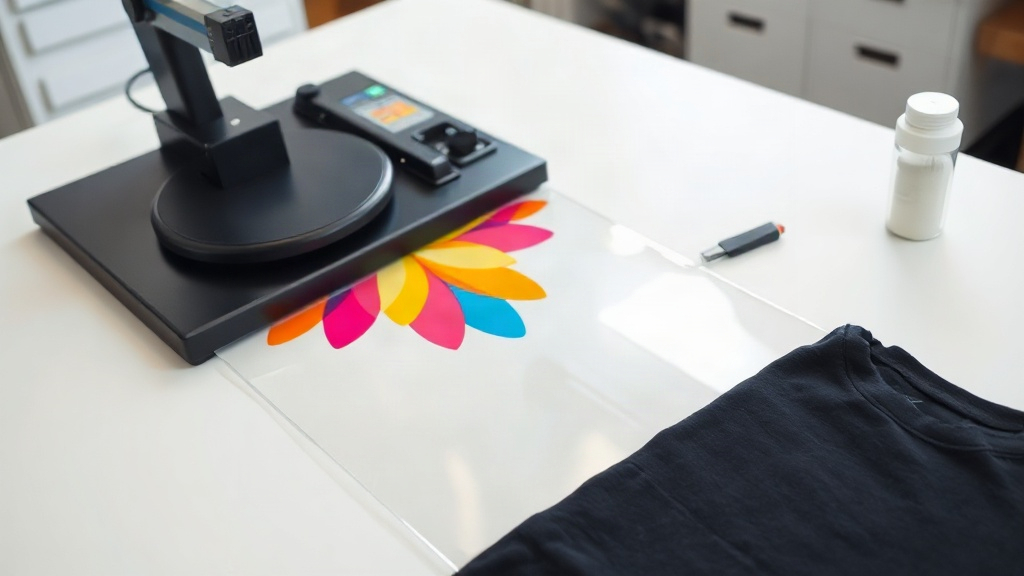
If you've been searching for a versatile and cost-effective way to produce custom apparel, you've likely stumbled upon DTF printing. Direct-to-film technology has transformed the industry by offering an alternative to traditional screen printing and vinyl. But what exactly is DTF, and how does it work? In this guide, I'll walk you through the entire process, share real-world insights from my own experience, and help you decide if it's the right fit for your printing needs.
What Is DTF Printing?
DTF stands for Direct to Film. It's a printing method where a design is printed onto a special PET film using a DTF printer and ink. The printed film is then coated with adhesive powder, cured, and finally heat-pressed onto a garment. The result is a vibrant, durable transfer that can be applied to a wide range of fabrics, including cotton, polyester, blends, and even leather.
Unlike DTG (direct to garment), which prints directly onto the shirt, DTF transfers are created on film first. This means you can print multiple copies of a design and press them later, making it perfect for on-demand orders as well as bulk production.
The DTF Printing Process Step by Step
When I first started experimenting with DTF, I was surprised by how straightforward the workflow is. Here's a breakdown of the steps involved, based on my own trial and error.
Step 1: Print the Design onto Film
First, you need a DTF printer equipped with CMYK ink and white ink. The design is printed in reverse (mirrored) onto a PET film. The white ink is laid down first as an underbase, ensuring that colors pop on dark garments. Proper color management is crucial here. I recommend using a RIP software to handle color separation and ink density.
One thing I learned the hard way: not all films are created equal. Quality PET films have a coating that holds the ink properly. Using cheap film might result in ink bleeding or cracking during transfer.
Step 2: Apply Adhesive Powder
While the ink is still wet, you dust the printed film with a hot-melt adhesive powder. This powder sticks to the ink areas and, once melted, will bond the transfer to the fabric. The excess powder is shaken off, leaving only the design coated.
For best results, use a powder applicator or shaker to get an even layer. I usually apply more powder than needed, then gently tap to remove the excess. It's a bit messy at first, but you'll get the hang of it.
Step 3: Cure the Adhesive
Next, you need to dry and partially cure the powder. A tunnel dryer or a heat press set at low temperature with no pressure works. The goal is to melt the powder slightly so it becomes tacky and adheres to the ink. This step also removes moisture, preventing issues during pressing.
In my setup, I use a DIY curing oven made from a toaster oven, but for consistency, a dedicated dryer is better. The temperature and time depend on your powder's specifications. Usually, it's around 100-120°C for 2-3 minutes.
Step 4: Press the Transfer onto the Garment
Now comes the exciting part. Place the cured film onto your garment with the design facing down. Apply heat and pressure using a heat press. The typical settings are around 160-170°C for 10-15 seconds at medium to firm pressure. The heat melts the adhesive, which fuses with the fabric fibers.
After pressing, peel the film hot or cold, depending on the film's instructions. Some films peel best when hot, others when cold. I prefer cold peel because it gives a slightly glossy finish that I find appealing.
DTF vs. Other Printing Methods: Why It's Gaining Popularity
You might wonder how DTF compares to screen printing, vinyl, and DTG. Each method has its place, but DTF offers unique advantages.
Versatility in Fabrics
One of the biggest selling points is that DTF works on almost any fabric. I've successfully printed on 100% cotton tees, polyester sports jerseys, and even a canvas tote bag. This flexibility is unmatched by DTG, which often struggles with polyester, or vinyl, which can crack on stretchy fabrics.
No Weeding or Masking
If you've ever used heat transfer vinyl (HTV), you know the pain of weeding intricate designs. DTF eliminates that step entirely. The printer handles all the details, and the powder covers the entire design, so even tiny text and complex logos are no hassle.
Cost-Effective for Small Runs
Screen printing requires expensive setup for each color and design, making it cost-effective only for large orders. DTF has minimal setup costs, so you can print one-off custom shirts without breaking the bank. For my small business, this has been a game-changer.
Essential Equipment and Materials for DTF
To get started with DTF, you'll need some specific gear. Here's a list based on what I use and recommend:
- DTF printer: Usually an Epson XP or L1800 modified to handle DTF inks, or a dedicated DTF printer. These have white ink circulation to prevent clogging.
- DTF inks: Pigment-based inks, including white, cyan, magenta, yellow, and black. The white ink is crucial for opacity.
- PET films: High-quality films with good ink absorption and release properties.
- Adhesive powder: Hot-melt powder that comes in different particle sizes; finer powder for detailed prints.
- Heat press: A clamshell or swing-away press with precise temperature and pressure control.
- Optional: Powder applicator and curing tunnel for production efficiency.
Investing in reliable equipment pays off. I initially bought a budget DTF printer, but the constant clogging and color inconsistency led me to upgrade. A quality printer saves time and frustration.
Tips for Perfect DTF Transfers Every Time
Through trial and error, I've gathered some pointers that can help you produce flawless prints.
Optimize Your Design Files
Use high-resolution images (300 DPI) with clean edges. When creating artwork, consider that white ink underbase will affect transparency. For best results, separate your design into layers: one for white, one for colors. Many RIP software programs do this automatically.
Fine-Tune Pressing Parameters
Don't assume one setting works for all fabrics. Perform test presses on different materials. For instance, a thick hoodie might require more pressure and longer time than a thin t-shirt. Keep a log of your settings for different substrates.
Handle the Film Carefully
After printing, avoid touching the inked areas to prevent smudging. When applying powder, make sure the entire design is covered. If you see bare spots, the transfer might not stick properly.
Test Wash Durability
Before selling a batch, wash a sample to check for cracking or fading. Properly cured DTF prints should withstand multiple washes. If you notice issues, adjust your curing time or pressing temperature.
Common DTF Problems and How to Fix Them
Even seasoned printers encounter issues. Here are some frequent problems and their solutions, straight from my experience.
Print Doesn't Stick to Fabric
If your transfer peels off after washing, the adhesive might not have been activated fully. Increase the pressing temperature slightly, extend the time, or use more pressure. Also, ensure the powder is completely cured before pressing.
Colors Look Washed Out
This often happens when the white ink underbase is too thin. Increase the white ink density in your printer settings. Also, check that your film isn't too old or low quality, as it can absorb ink unevenly.
Film Curls or Sticks to the Platen
Some films tend to curl when heated. Try lowering the temperature and pressing for a shorter time. Using a non-stick sheet or a Teflon cover over the film can prevent sticking.
Frequently Asked Questions
What is the difference between DTF and DTG printing?
DTG prints directly onto the garment using a specialized printer, while DTF prints onto a film that is later transferred. DTF tends to work better on a wider range of fabrics, including dark ones, without pre-treatment. DTG provides a softer hand feel but is limited to cotton-rich fabrics and requires pretreating.
Can DTF transfers be applied to any fabric?
Yes, DTF transfers work on cotton, polyester, nylon, blends, and even leather or canvas. The key is to adjust the pressing temperature and time according to the fabric's tolerance. For heat-sensitive materials like nylon, lower temperatures are required.
How long do DTF prints last?
With proper curing and pressing, DTF prints are highly durable. They can withstand 50+ washes without significant fading or cracking, provided you follow the recommended care instructions (wash inside out, cold water, no bleach). The longevity also depends on the quality of inks, powder, and transfer process.
Is DTF printing cost-effective for small businesses?
Absolutely. DTF has a lower startup cost compared to screen printing and allows for cost-efficient small runs. You can print single items at a profit, which is ideal for custom order businesses. The consumables (film, powder, ink) are relatively affordable, and you can scale up as demand grows.
Can I use a regular Epson printer for DTF?
Technically, you can convert a standard Epson printer to use DTF inks, but it's risky. DTF white ink is thicker and can clog regular print heads. Also, modified printers often void warranties. I recommend purchasing a purpose-built DTF printer or a conversion kit from a reputable supplier.
In conclusion, DTF printing is a versatile and practical method for creating custom apparel. Whether you're a hobbyist or a business owner, understanding the process helps you produce high-quality transfers with consistency. With the right equipment and a bit of practice, you'll master DTF in no time.