
When you first hear about dtf printing, it might sound like just another heat transfer method. But dig a little deeper, and you'll find a technology that's reshaping how small businesses and hobbyists approach custom apparel. Unlike traditional screen printing or vinyl cutting, DTF transfers offer a unique blend of versatility, durability, and color vibrancy that's hard to match. Whether you're printing a single shirt for a friend or fulfilling a bulk order for a corporate client, understanding the ins and outs of DTF can set your work apart. In this guide, we'll walk through the entire process, from design to finished product, and share practical tips that only come from hands-on experience.
What Are DTF Transfers?
DTF stands for Direct-to-Film. It's a printing method where your design is printed onto a special PET film using water-based pigments, then coated with a hot-melt adhesive powder. Once the powder is cured, the transfer is ready to be applied to fabric using a heat press. The magic happens when the adhesive melts and bonds with the fibers, creating a strong, flexible bond that survives countless washes. Unlike DTG (Direct-to-Garment), which requires pretreating and works best on 100% cotton, DTF transfers adhere beautifully to cotton, polyester, blends, and even nylon. That versatility alone makes DTF a game-changer for anyone who prints on a variety of garments.
Why Choose DTF Transfers Over Other Methods?
If you've been in the apparel decorating game for a while, you've probably tried HTV (heat transfer vinyl) or screen printing. Each has its place, but DTF carves out a niche that's hard to ignore. Here's why many professionals are making the switch:
- No Weeding Required: Unlike HTV, there's no tedious cutting and weeding of tiny details. You print, powder, cure, and press. That saves hours on complex designs.
- Unlimited Colors: DTF printers use CMYK plus white ink, so you can print photorealistic images, gradients, and fine lines without worrying about color separation.
- Works on Almost Any Fabric: Cotton, polyester, blends, spandex, even leather. You're not limited to a single material type.
- Durable and Stretchable: The adhesive stretches with the fabric, so prints won't crack or peel easily, even on athletic wear.
- Cost-Effective for Short Runs: No screens or setup fees mean you can profitably print one-off items or small batches.
These advantages explain why DTF transfers have become a staple in many print shops. But to get the most out of them, you need to nail the process.
The DTF Transfer Process Step by Step
Getting a perfect DTF transfer isn't just about having the right equipment. It's about understanding each stage and how they interact. Let's break it down.
1. Design Preparation
Start with a high-resolution image. Vector files are ideal, but 300 DPI raster files work too. Remember that DTF prints white ink as a base, so your design should have a transparent background. If you're using Photoshop or Illustrator, make sure to remove any background and save as PNG or TIFF. Also, consider the final size: DTF can handle fine details, but overly thin lines might not hold up as well as thicker ones.
2. Printing
Load your PET film into a DTF printer. These printers use specially formulated inks that sit on top of the film rather than soaking in. The printer lays down a layer of white ink first, followed by CMYK. Some printers do the reverse, but the key is that the white layer provides opacity. After printing, you'll have a wet, vibrant image on the film.
3. Powdering and Curing
While the ink is still wet, you sprinkle hot-melt adhesive powder evenly over the print. Shake off the excess, then cure the film in an oven or under a heat source. The powder melts and forms a solid, slightly tacky layer. This step is critical: under-curing leads to poor adhesion, while over-curing can make the transfer brittle. Most manufacturers recommend curing at around 160°C (320°F) for 2-3 minutes, but always check your powder's specs.
4. Heat Press Application
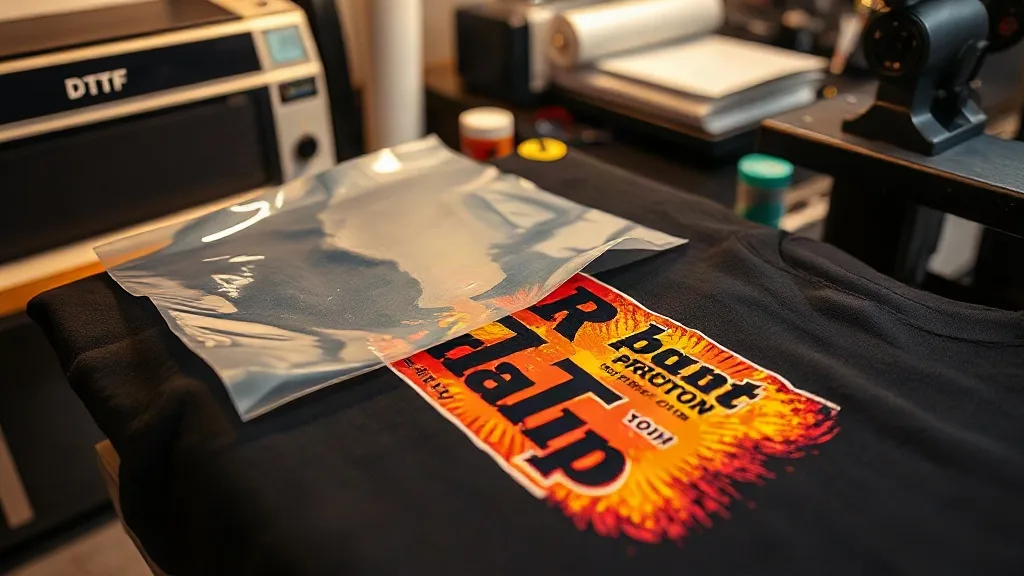
Now you're ready to press. Set your heat press to the temperature and time recommended for your fabric. Typically, that's 150-160°C (300-320°F) for 10-15 seconds with medium pressure. Place the transfer on the garment, cover with a Teflon sheet or parchment paper, and press. After pressing, let it cool completely before peeling the film. Peeling while hot can distort the print, especially on stretchy fabrics. Once cooled, peel in a smooth, steady motion.
Common Pitfalls and How to Avoid Them
Even seasoned pros run into issues. Here are the most frequent problems and their solutions:
- Print Cracking After Wash: Usually caused by under-curing the powder or insufficient pressure during heat press. Increase curing time slightly and ensure your press is calibrated.
- Adhesive Residue on Film: If you see a lot of powder left on the film after peeling, you might be over-powdering. Shake off more vigorously.
- Colors Look Dull: This can happen if the white ink layer is too thin. Check your printer's settings; you might need to increase white ink density.
- Transfer Peels Off: Often due to pressing on a fabric with a heavy weave or not enough pressure. Try a firmer pressure and ensure the garment is flat.
These fixes are simple, but they require attention to detail. Keeping a log of your settings for each fabric type will help you dial in the perfect recipe.
Choosing the Right DTF Supplies
Not all DTF films and powders are created equal. The quality of your supplies directly impacts the final result. Here's what to look for:
- Film: Look for PET films with a consistent coating. Thinner films (75-100 microns) are easier to handle and conform to fabric textures. Some films are designed for hot peel, others for cold peel; choose based on your workflow.
- Powder: TPU-based powders are flexible and durable. Particle size matters: finer powders (80-200 microns) give a softer hand feel, while coarser ones are more forgiving. For stretchy fabrics, opt for a flexible powder.
- Inks: Use inks formulated specifically for DTF. They have the right viscosity and pigment load to sit on the film without spreading.
Investing in quality supplies might cost a bit more upfront, but it reduces waste and reprints, saving you money in the long run.
Applications Beyond T-Shirts
While t-shirts are the most common canvas, DTF transfers shine on a variety of items. Here are some ideas to expand your offerings:
- Hoodies and Sweatshirts: The stretchable adhesive handles thick fabrics well.
- Tote Bags: Cotton canvas takes DTF beautifully, and the print won't crack when folded.
- Denim Jackets: Add custom designs to the back or sleeves for a unique look.
- Sports Jerseys: The flexibility means numbers and names move with the fabric.
- Home Textiles: Pillowcases, aprons, and even quilt squares can be personalized.
The key is to test on a scrap piece first, especially with unusual materials. Some fabrics with heavy coatings or water repellents may need special handling.
Maximizing Durability and Washability
One of the biggest concerns with any printed apparel is how it holds up after repeated washing. DTF transfers, when applied correctly, can outlast the garment itself. Here are some best practices to ensure longevity:
- Wash Inside Out: This reduces abrasion on the print.
- Cold Water: Hot water can weaken the adhesive over time.
- Mild Detergent: Avoid bleach and fabric softeners, which can degrade the print.
- Tumble Dry Low or Hang Dry: High heat can cause cracking. Air drying is best.
- Iron Inside Out: If needed, iron on the reverse side with no steam.
Following these simple rules will keep your DTF prints looking fresh for years.
Frequently Asked Questions About DTF Transfers
Can I use DTF transfers on dark fabrics?
Absolutely. In fact, DTF excels on dark colors because the white ink base provides opacity. You don't need to change your design; the printer automatically lays down white ink where needed.
How long do DTF transfers last?
With proper application and care, DTF transfers can last as long as the garment. Many users report 50+ washes without fading or cracking. The key is correct curing and pressing.
Do I need a special printer for DTF?
Yes, DTF requires a printer that uses DTF inks and can handle PET film. You can convert some inkjet printers, but dedicated DTF printers are recommended for consistent results. They typically have a white ink channel and a powder shaker unit.
What fabrics work best with DTF?
DTF adheres well to cotton, polyester, blends, nylon, and even leather. It's not recommended for fabrics with a heavy silicone or waterproof coating, as the adhesive may not bond properly.
Is DTF more expensive than other methods?
The cost per transfer depends on your volume and supplies. For short runs, DTF is often cheaper than screen printing due to no setup fees. For large runs, screen printing may be more economical. However, DTF's versatility often justifies the cost.
Mastering DTF transfers opens up a world of possibilities for custom apparel. With the right knowledge and a bit of practice, you can produce stunning, durable prints that keep customers coming back. Remember, the journey from beginner to pro is paved with experimentation and attention to detail. So fire up your printer, grab some film, and start creating.