
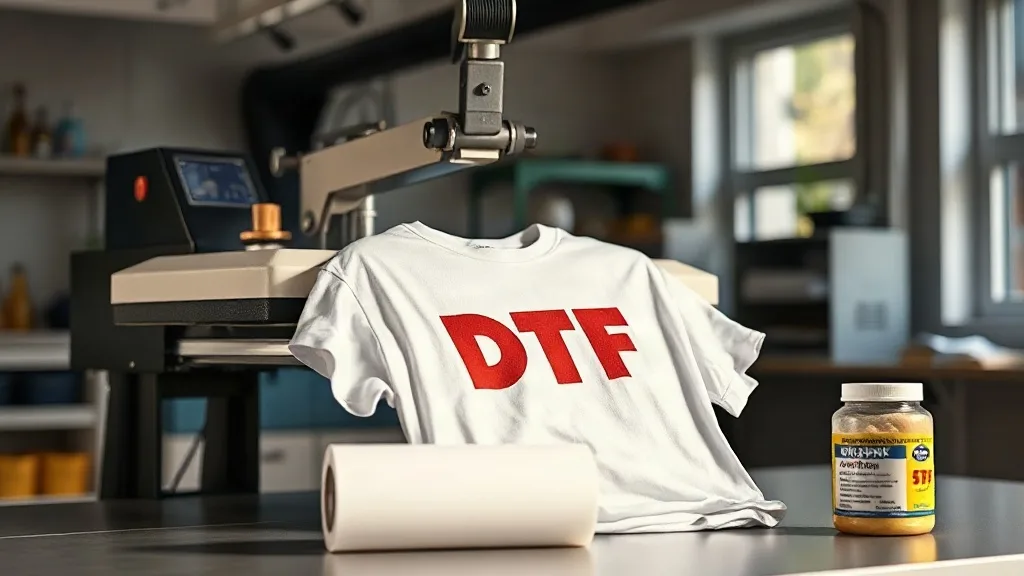
If you've been exploring custom apparel printing, you've likely encountered dtf transfers. This technology has rapidly gained popularity for its versatility and vibrant results. Unlike traditional methods that require specific fabrics or extensive setup, DTF offers a streamlined approach that works on almost any material. In this guide, I'll share insights from my own experience with DTF, covering everything from the basics to advanced tips for achieving professional-quality prints.
What Are DTF Transfers?
DTF stands for Direct to Film. It's a printing process where your design is printed onto a special film, coated with a adhesive powder, and then heat-pressed onto the fabric. The result is a soft, stretchable print that bonds permanently with the material. Unlike DTG (Direct to Garment) which prints directly onto the fabric, DTF uses a transfer film as an intermediary. This allows for greater flexibility in fabric choice and often produces more vivid colors, especially on dark garments.
Why Choose DTF Transfers?
There are several compelling reasons to consider DTF for your next project. First, it works on a wide range of fabrics: cotton, polyester, blends, and even leather. Second, the prints are incredibly durable. When applied correctly, they withstand repeated washing without cracking or fading. Third, the color reproduction is excellent. You can achieve fine details and gradients that other methods might struggle with. Finally, DTF is cost-effective for small to medium runs, making it ideal for small businesses, hobbyists, and anyone needing custom apparel without huge minimums.
How DTF Transfers Work: Step by Step
Understanding the process helps you appreciate the results. Here's what happens:
- Design Preparation: Your artwork is prepared digitally, ensuring it's mirrored (unless using a printer that handles this automatically).
- Printing: A specialized DTF printer prints the design onto a PET film using CMYK and white inks. The white ink acts as a base for opacity on dark fabrics.
- Powder Application: While the ink is still wet, a thermoplastic adhesive powder is applied evenly over the print. Excess powder is shaken off.
- Curing: The film passes through a heat source (like a conveyor oven) to melt the powder, creating a adhesive layer that will bond with the fabric.
- Transfer: The film is placed on the garment and heat-pressed. The adhesive melts, bonding the ink to the fabric. After cooling, the film is peeled away, leaving the design behind.
Fabric Compatibility: What Works Best?
One of the biggest advantages of DTF is its compatibility with various fabrics. Here's a quick breakdown:
- Cotton: Excellent. The print adheres well and feels soft.
- Polyester: Very good, but requires lower pressing temperatures to avoid dye migration.
- Blends: Generally good, though results may vary depending on the blend ratio.
- Leather and Denim: Works well, but test first as some finishes may affect adhesion.
- Nylon and Waterproof Fabrics: Possible, but may need special pretreatments or films.
For best results, always test on a scrap piece before pressing your final garment.
Application Techniques for Perfect Results
Getting a flawless DTF transfer requires attention to detail. Here are my go-to steps:
1. Pre-Press the Garment
This removes moisture and wrinkles, ensuring a smooth surface. Press for 5-10 seconds at 300°F (150°C).
2. Position the Transfer
Place the film with the design facing up. Use heat-resistant tape if needed to keep it in place.
3. Press with Consistent Pressure
Use medium to heavy pressure. Temperature and time vary by fabric: typically 300-325°F (150-160°C) for 10-15 seconds. For polyester, lower to 280-300°F (140-150°C) to prevent scorching.
4. Peel Cool or Hot?
Most DTF transfers are cold peel: wait until the film is completely cool before peeling. This allows the adhesive to set properly. However, some films are hot peel; check the manufacturer's instructions.
5. Post-Press for Durability
After peeling, press again for 5-10 seconds with a cover sheet (like parchment paper) to further embed the print. This enhances wash durability.
Common Mistakes to Avoid
Even experienced users make these errors. Learn from my trials:
- Insufficient Pressure: Leads to poor adhesion and early peeling. Use a press, not an iron.
- Wrong Temperature: Too high causes scorching or dye migration; too low leads to incomplete transfer.
- Peeling Too Early: For cold peel, patience is key. Peeling while warm can distort the design.
- Ignoring Fabric Type: Always adjust settings for polyester and delicate fabrics.
- Not Pre-Pressing: Moisture can cause steam pockets and uneven transfer.
Durability: How Long Do DTF Transfers Last?
When applied correctly, DTF prints can last as long as the garment itself. I've seen prints survive over 50 washes with minimal fading. To maximize longevity:
- Wash inside out in cold water.
- Avoid bleach and fabric softeners.
- Tumble dry low or hang dry.
- Iron inside out, never directly on the print.
Following these care instructions will keep your designs looking fresh for years.
DTF vs Other Printing Methods
How does DTF stack up against DTG, screen printing, and vinyl?
- DTG: Best for 100% cotton, but colors may be less vibrant on dark shirts. DTF offers better opacity and works on more fabrics.
- Screen Printing: Cost-effective for large orders, but setup costs are high for small runs. DTF has no minimums and requires no screens.
- Vinyl: Great for simple designs, but not for complex images. DTF handles full-color graphics with ease.
Each method has its place, but DTF shines for its versatility and low barrier to entry.
Choosing the Right DTF Supplies
Not all DTF films and powders are created equal. Quality supplies make a huge difference. Look for:
- Film: Opt for double-sided matte or glossy PET film. Thickness affects feel and durability.
- Powder: Fine, consistent particle size ensures smooth adhesion. Avoid clumpy powder.
- Inks: Use high-quality DTF inks designed for your printer. Cheap inks can clog heads and fade quickly.
Investing in good supplies saves you time and frustration in the long run.
Frequently Asked Questions
Can I use DTF transfers on 100% polyester?
Yes, but you must adjust your heat press settings. Use a lower temperature (around 280-300°F) and light pressure to prevent dye migration. Some printers also offer low-temperature powders specifically for polyester.
How do I store unused DTF transfers?
Keep them in a cool, dry place away from direct sunlight. Store them flat or rolled, not folded, to prevent creases. Properly stored transfers can last for several months.
What's the best way to wash a shirt with a DTF print?
Turn the garment inside out and wash in cold water with mild detergent. Avoid bleach and fabric softener. Tumble dry on low or hang dry. If ironing, do it inside out and never directly on the print.
Do I need a special printer for DTF?
Yes, you need a DTF printer that uses DTF inks and can handle the film. However, you can also purchase pre-printed dtf transfers from suppliers and apply them with a standard heat press.
How long does the transfer process take?
From start to finish, applying a DTF transfer takes about 1-2 minutes per garment, including pre-pressing and post-pressing. It's quick and efficient for small batches.
Final Thoughts
DTF transfers have revolutionized custom apparel by offering unmatched versatility and durability. Whether you're a small business owner or a DIY enthusiast, mastering DTF opens up a world of possibilities. Remember, quality supplies and proper technique are key to achieving professional results. So go ahead, experiment with different fabrics, and let your creativity shine. If you're ready to dive in, check out the resources and supplies available at dtfprokit.com to get started on your DTF journey.